
Table of Content
- What is AI YouTube Video Creation
- What is AI Video Creation?
- Two Ways to Create AI YouTube Videos
- Step-by-Step Process to Create AI YouTube Videos (Free) – Online Ways
- Step-by-Step Process to Create AI YouTube Videos (Free) – Offline Ways
- Step 1: Install and Set Up ComfyUI
- Step 2: Choose AI Video Models
- Step 3: Download and Load Workflows
- Step 4: Load Models in ComfyUI
- Step 5: Configure Prompts (Positive & Negative)
- Step 6: Set Video Parameters
- Step 7: Generate Video
- Step 8: Combine Workflows for Better Results
- Final Offline Workflow Summary
- Important Tips for Offline AI Video Creation
Introduction to AI YouTube Video Creation
AI video creation has transformed how creators produce content for YouTube. Today, you can create YouTube videos using AI without expensive equipment, editing skills, or a production team. Free AI video tools allow creators to generate scripts, voiceovers, visuals, and full videos automatically.
In this guide, we will explore free ways to create YouTube videos using AI, including online AI platforms and offline AI models like ComfyUI.
What is AI Video Creation?
AI video creation is the process of generating videos using artificial intelligence tools. These tools can automate:
- Script writing
- Voice generation
- Video editing
- Image and animation creation
AI video creation is widely used for faceless YouTube channels, educational content, storytelling, and short-form videos.
Two Ways to Create AI YouTube Videos
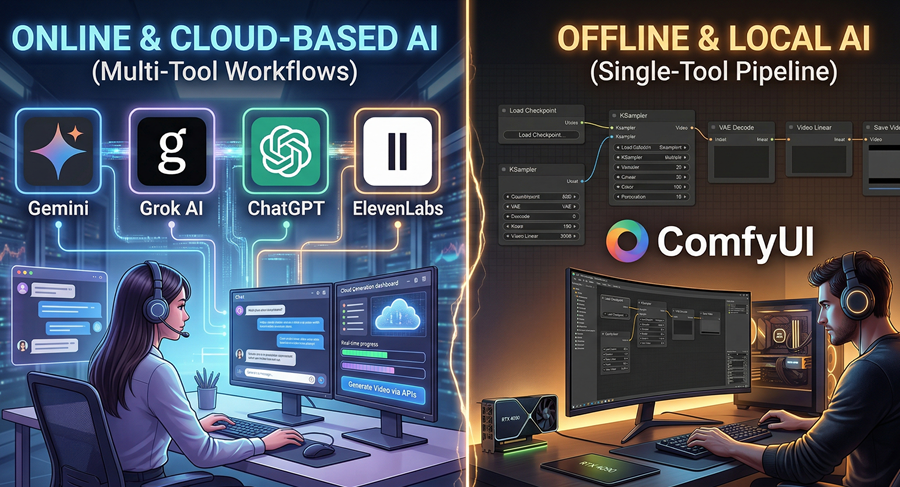
There are two main approaches to create AI YouTube videos: using free online tools or using offline AI models. Both methods have their own advantages depending on your resources, technical knowledge, and level of control required.
1. Online AI Video Creation (Free Tools)
Online AI tools allow you to create YouTube videos without needing high-end hardware. These platforms run on cloud servers, so you can generate scripts, images, voice, and videos directly from your browser.
Tools Used
- ChatGPT for script, prompt generation
- Google Vertex AI for image and scene variation
- ElevenLabs for voice generation
- Grok AI for video creation
Benefits of Online Tools
- No GPU or high-end system required
- Completely beginner-friendly
- Accessible from any device
- Free plans available
Limitations
- Usage limits (credits, watermarks)
- Less control over output
- Dependent on internet connection
2. Offline AI Video Creation (Using ComfyUI)
Offline AI video creation involves running AI models locally on your system. This method provides more control and flexibility but requires strong hardware.
Tool Used
- ComfyUI for running AI models locally
System Requirements
- GPU: Required to run AI models efficiently (recommended 6GB+ VRAM)
- RAM: Minimum 16GB recommended for smooth performance
- Storage: Required for storing large AI models
- CPU: Decent processor for handling workflows
Benefits of Offline Method
- No usage limits
- Full control over output
- No dependency on internet after setup
- Better customization and quality
Limitations
- Requires technical setup
- High hardware requirement
- Not beginner-friendly
Step-by-Step Process to Create AI YouTube Videos (Free) – Online Ways
Creating AI YouTube videos for free is possible using a combination of online tools. This process covers script creation, character consistency, voice generation, video creation, and final editing.
Step 1: Script Creation Using ChatGPT
The script is the foundation of any AI video. ChatGPT is a powerful free tool for generating structured scripts.
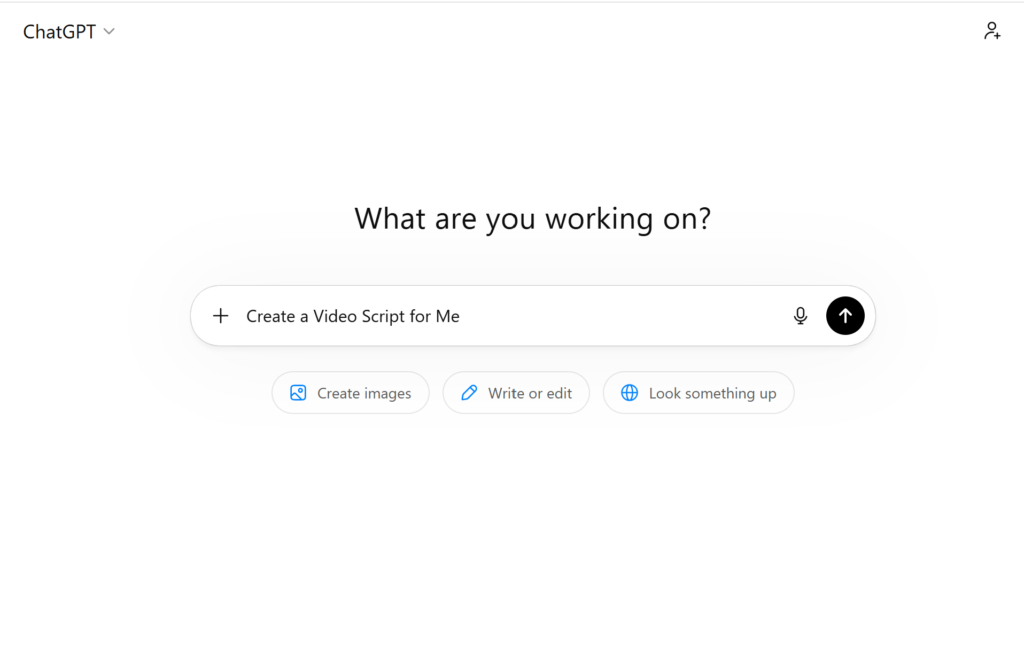
How to Generate Script
- Provide clear instructions:
- Video topic
- Video duration (e.g., 2 minutes, 5 minutes)
- Story type (educational, storytelling, motivational)
- Characters and roles
Example Prompt Structure
- “Create a 3-minute YouTube video script”
- “Topic: Future of AI”
- “Include characters: one human and one robot”
- “Provide story + dialogues + scene breakdown”
Output
- Full story
- Scene-wise script
- Dialogue format
Step 2: Character Image Creation (Maintain Consistency) Using ChatGPT
One of the biggest challenges in AI videos is maintaining character consistency.
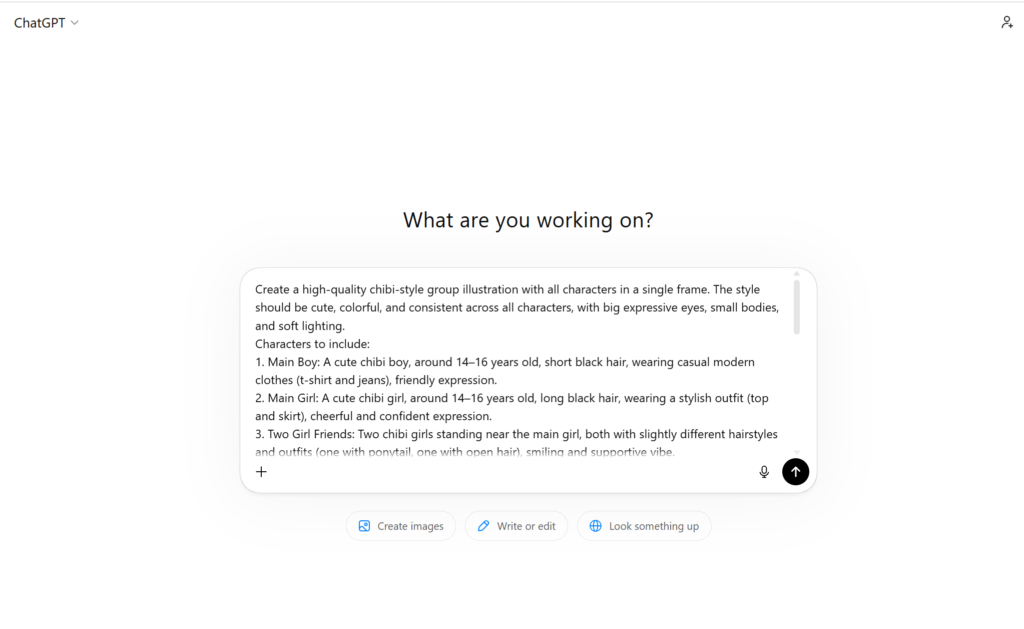
Process
- Generate a single base image for each character using AI
- Use the same image across all scenes
Important Tips
- Keep prompts consistent
- Maintain same facial features, clothing, and style
- Avoid changing base descriptions
Step 3: Scene Variation Using Google Vertex AI
After creating base character images, use them to generate different scenes.

How to Use
- Upload the character image
- Provide scene prompts:
- “Character walking in a city”
- “Character sitting in an office”
Benefits
- Character remains consistent
- Scene changes dynamically
- Better storytelling continuity
Step 4: Voice Generation Using ElevenLabs
Voiceover is a critical part of AI video creation. ElevenLabs provides high-quality AI voices.
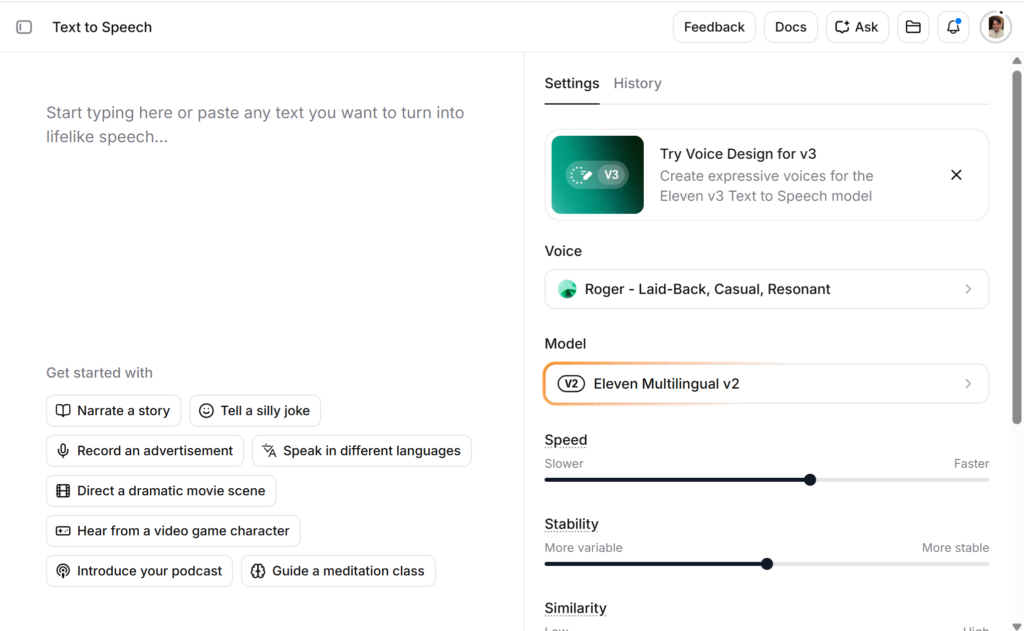
Features
- 10,000 free credits
- Multiple voice options
- Natural and realistic speech
Process
- Paste your script
- Select voice type
- Generate audio
Tips
- Use different voices for different characters
- Match tone with content (emotional, serious, storytelling)
Step 5: Video Creation Using Grok AI
Now convert images and prompts into video clips.
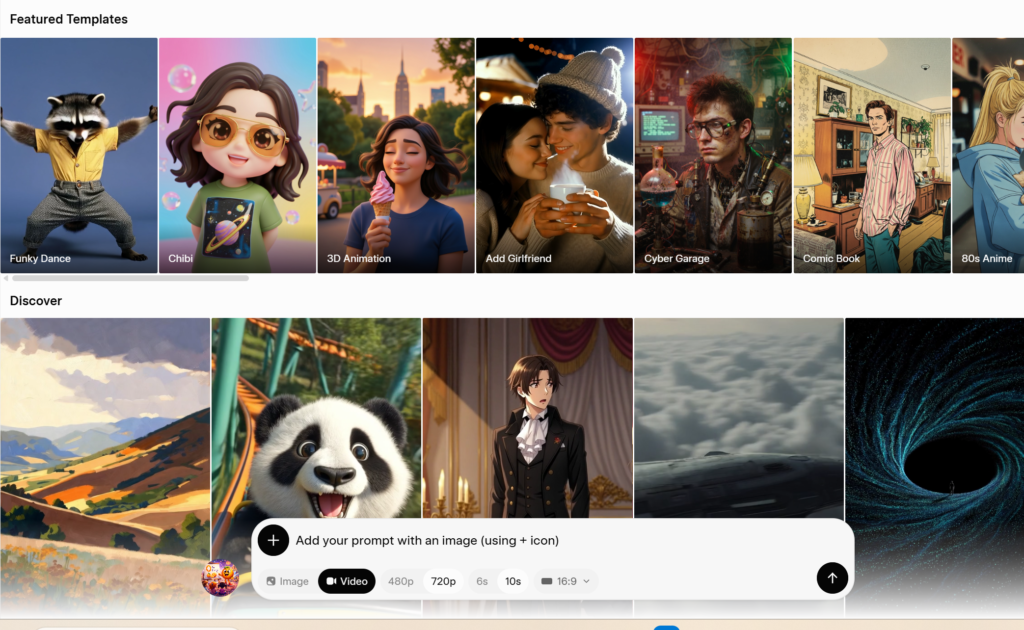
Features
- Resolution options: 720p, 480p
- Aspect ratios:
- 16:9 (YouTube videos)
- 9:16 (Shorts/Reels)
- Video extension capability
Process
- Upload image + prompt
- Generate short video clips
Video Extension Method (Important)
- Capture the last frame using a snipping tool
- Upload that frame again in Grok AI
- Generate next scene using a new prompt (from ChatGPT)
- Repeat to extend video
Step 6: Video Editing and Audio Sync
Combine all generated clips and voiceovers into a final video.
Tools
- Wondershare Filmora
- Any free video editing software
Process
- Import all video clips
- Add voiceover
- Sync audio with visuals
- Add transitions and finalize
Step-by-Step Process to Create AI YouTube Videos (Free) – Offline Ways
Offline AI video creation allows you to generate high-quality videos using local models without relying on online APIs. This method uses powerful workflows inside ComfyUI and requires a GPU-based system.
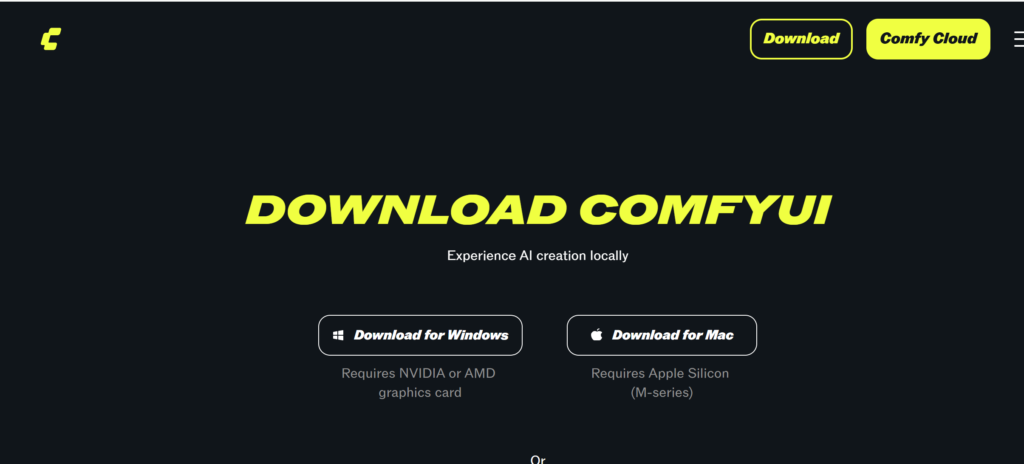
Step 1: Install and Set Up ComfyUI
Before generating videos, you need to install ComfyUI on your system.
Requirements
- GPU (recommended 6GB+ VRAM)
- RAM (minimum 16GB recommended)
- Enough storage for models (can be several GBs)
Setup Process
- Download and install ComfyUI
- Launch the interface in your browser
- Ensure your GPU is properly detected
Step 2: Choose AI Video Models
For offline AI video creation, multiple models can be used depending on your needs. (We can download these models directly from Hugging Face or while loading the workflow.)
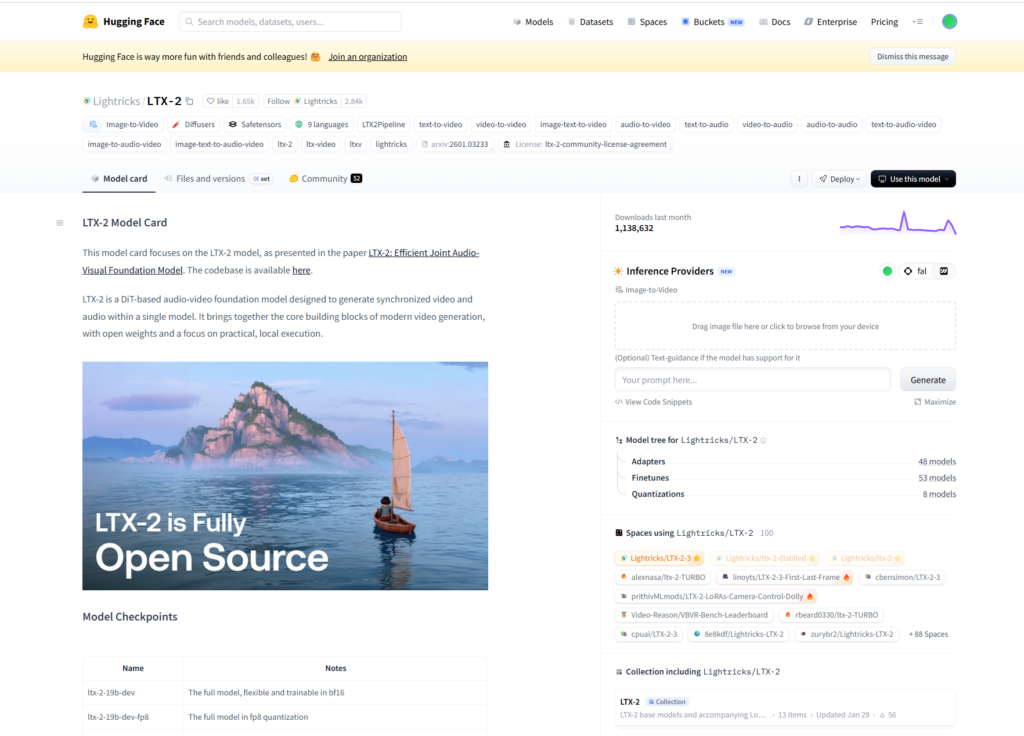
Popular Models
- LTX Video
- WAN 2.2
- Hunyuan Video
- Stable Video Diffusion (SVD)
- Mochi / LTX workflow combinations
These models are used inside ComfyUI workflows to generate AI videos.
Step 3: Download and Load Workflows
Workflows define how the AI model processes inputs and generates videos.
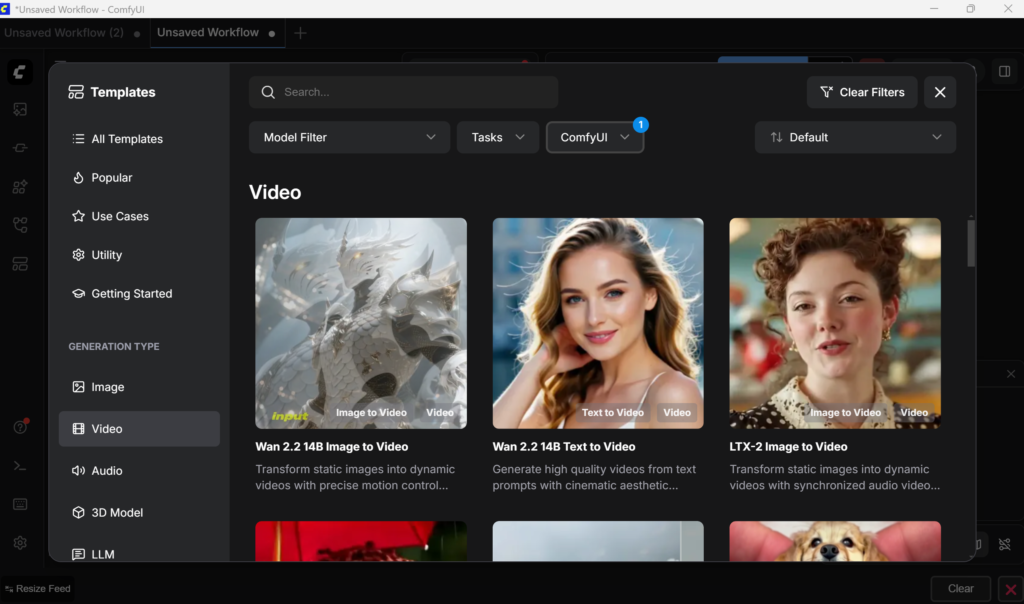
How to Get Workflows
- Download workflows from ComfyUI community sources
- Or load directly from ComfyUI interface (if available)
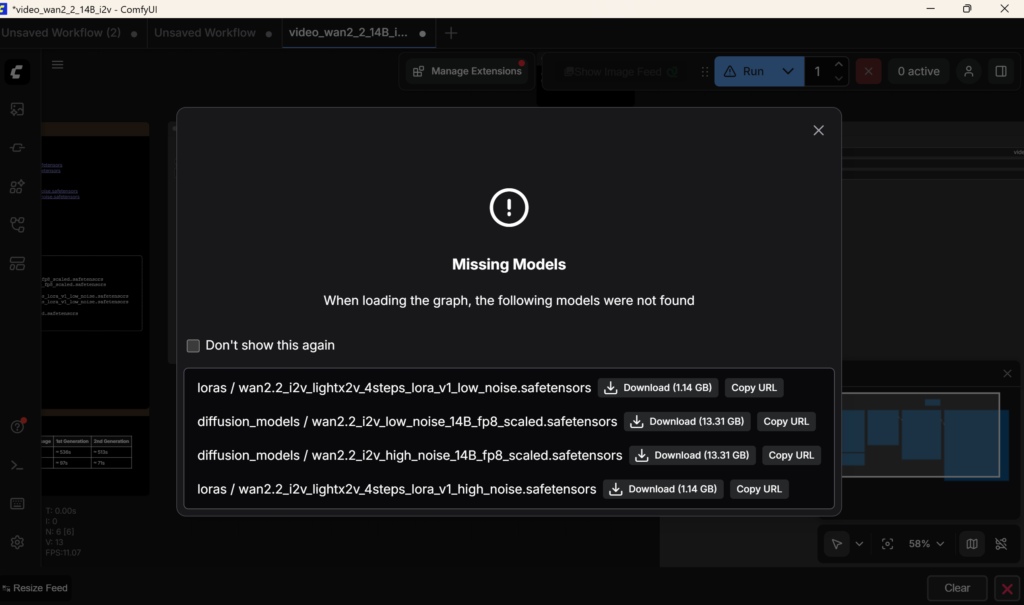
Important Note
- Use only offline workflows (no API-based workflows)
- After loading a workflow:
- If models are already available → no need to download
- If missing → ComfyUI will show options to download models
Model Download
- Some models are large (GB size)
- Requires internet during initial setup
- Stored locally for future use
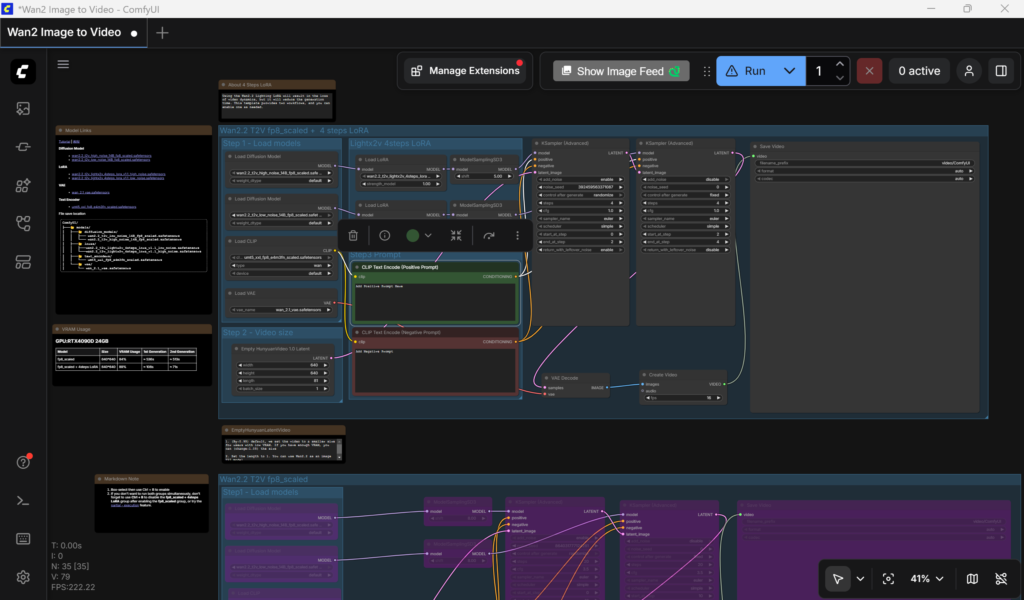
Step 4: Load Models in ComfyUI

Once the workflow is loaded:
- Check model nodes in the workflow
- If model is missing → download required files
- If already installed → directly usable
This step ensures all dependencies are ready before generation.
Step 5: Configure Prompts (Positive & Negative)
Prompts control how your video looks.
Positive Prompt
- Describes what you want in the video
- Example:
- “A cinematic scene of a robot walking in a futuristic city, realistic lighting, high detail”
Negative Prompt
- Removes unwanted elements
- Example:
- “blurry, low quality, distorted face, extra limbs”
Step 6: Set Video Parameters
Before generating video, configure output settings.
Key Settings
- Resolution (e.g., 512×512, 768×768, 1024×576)
- Frame count
- FPS (frames per second)
- Video duration
These settings directly impact video quality and generation time.
Step 7: Generate Video
After setting everything:
- Click generate/run in ComfyUI
- The model processes inputs
- Output video is generated locally
Output
- Video frames or compiled video
- Stored on your system
Step 8: Combine Workflows for Better Results
Advanced users can combine multiple models for better output.
Example Combinations
- Mochi + LTX workflows
- SVD + Control-based workflows
- Hunyuan + animation pipelines
This improves motion quality, realism, and consistency.
Final Offline Workflow Summary
- Install ComfyUI
- Download workflows
- Load models
- Add prompts (positive + negative)
- Set resolution and video settings
- Generate video locally
Important Tips for Offline AI Video Creation
- Use high-quality prompts
- Ensure GPU memory is sufficient
- Start with lower resolution for testing
- Combine workflows for advanced results
- Keep models organized for faster loading
